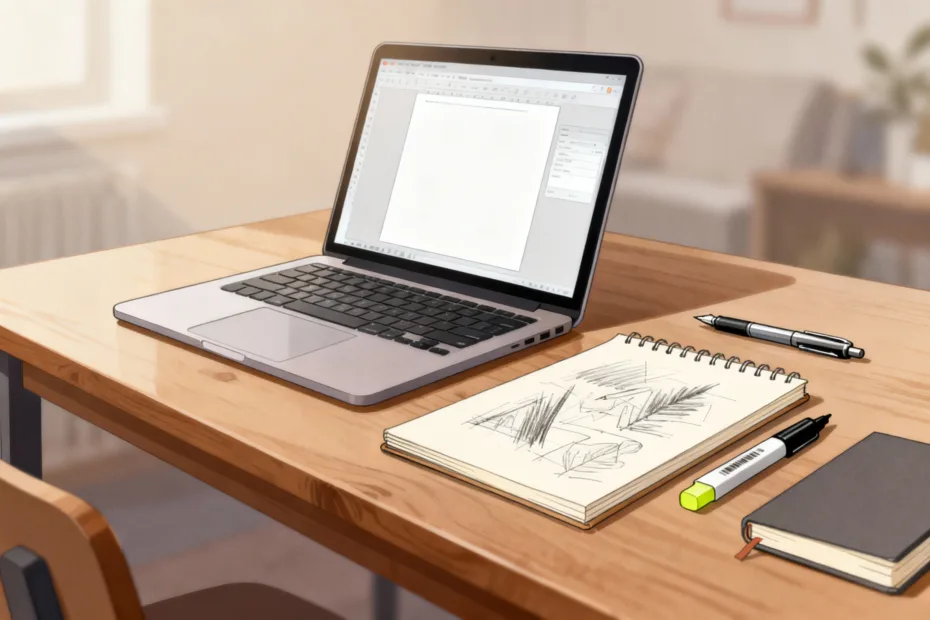
You don’t need a suitcase of gear to start creating. You need a plan, a few smart tools, and the courage to press publish. Perfection can wait. Momentum can’t. Let’s cut the fluff and get you set up with what actually matters.
Start With What You Already Have
You don’t need a new camera or a fancy mic to get rolling. Your phone shoots video, records audio, and edits content. That’s already a studio in your pocket.
Focus on learning the basics with what you’ve got. You’ll figure out what you actually need after a few projects, not by doom-scrolling gear reviews at 2 a.m. (guilty).
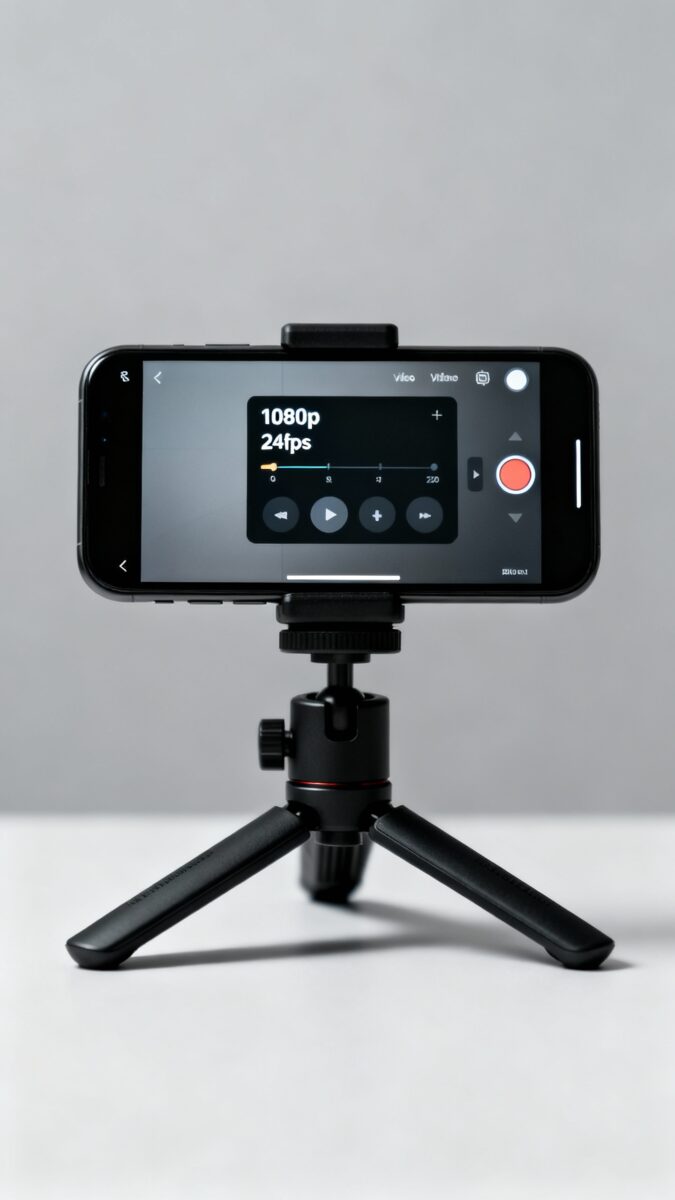
Phone Settings That Make a Big Difference
- Resolution: Shoot 1080p at 24 or 30 fps for most content. Save 4K for when you know why you want it.
- Stability: Turn on stabilization or lean against a wall. Shaky = amateur.
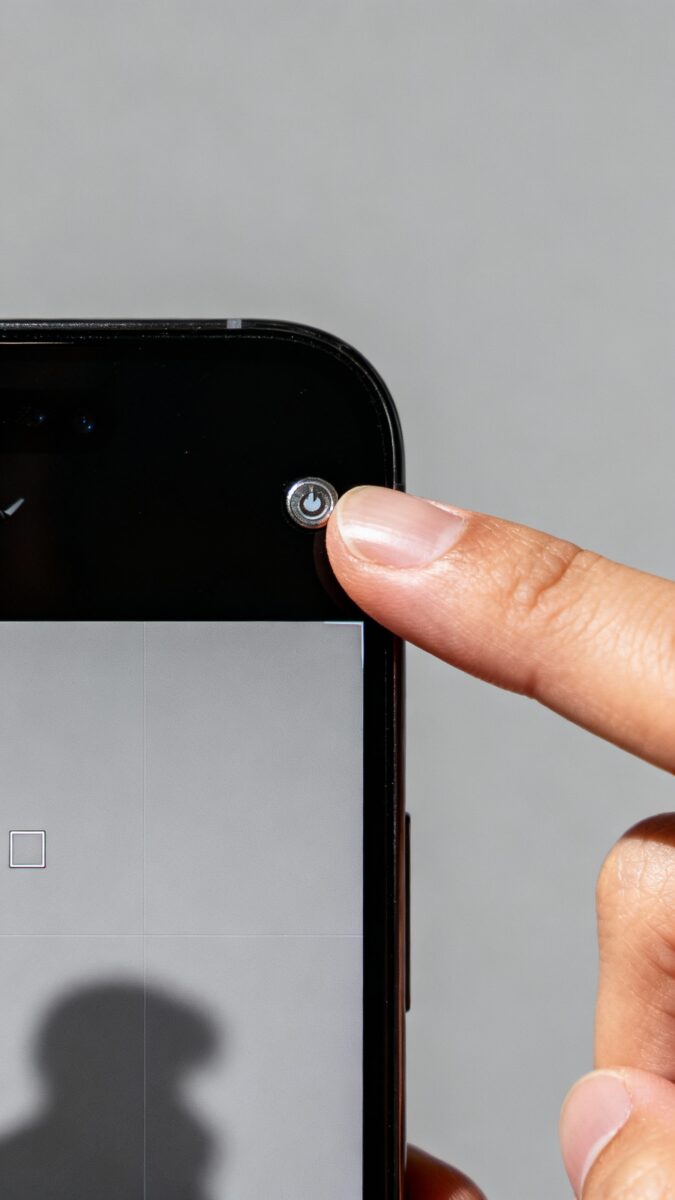
- Exposure/Focus Lock: Tap and hold to lock. No breathing focus, no weird flickers.
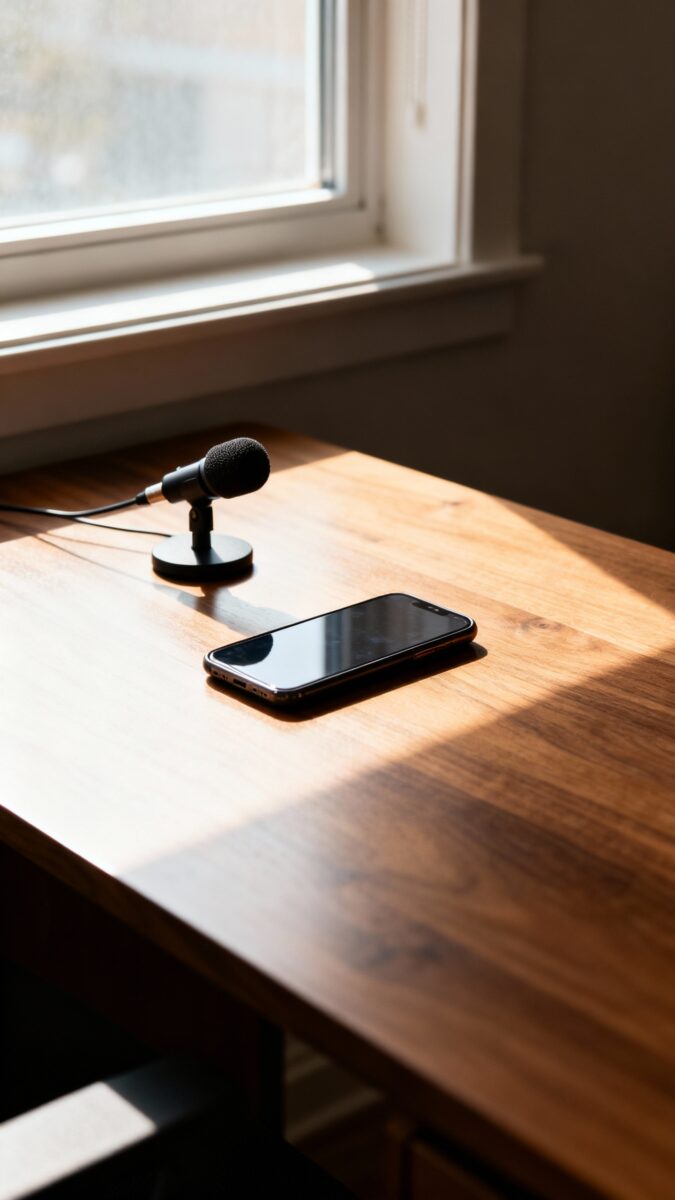
Audio: The Non-Negotiable Upgrade
Viewers forgive okay visuals. They do not forgive bad audio. If you buy one thing first, buy a mic. Clear sound = instant professionalism.
Beginner-Friendly Mic Options
- Lavalier (clip-on): Cheap, reliable, great for talking-head videos. Look for models with TRRS for phones.
- USB mic: Perfect for voiceovers, streams, and podcasts. Plug-and-play. Blue Yeti style mics are common, but many budget mics sound great too.
- Shotgun mic: Mount it on your phone/camera. Good for vlogs and run-and-gun shooting.
FYI: Record in a quiet room with soft surfaces. Blankets and curtains help more than you think.
Quick Audio Tips
- Keep the mic close to your mouth (6–8 inches).
- Monitor levels. Aim for peaks around -6 dB to avoid clipping.
- Kill background noise: turn off AC, fridges, and your noisy chair.
Lighting: Use the Sun, Then Add One Light
Lighting does more for your video than any filter. Start with a window. Face it. Film during the day. Done.
When you need more control, grab a single soft light. A ring light or small LED panel with a diffuser works. You don’t need a three-point setup unless you’re going full film school.
The Two-Minute Light Setup
- Place the light 45° to one side of your face, slightly above eye level.
- Bounce it off a wall for softer light if it looks harsh.
- Turn off overhead lights to avoid unflattering shadows.
Editing: Keep It Simple, Keep It Moving
Your editing software doesn’t make your story interesting. Your cuts do. Start with lightweight tools that don’t fight you.
- On phone: CapCut, VN, or iMovie. Drag, cut, add captions, done.
- On desktop: DaVinci Resolve (free), Premiere Elements, or Filmora. Resolve gives you pro power without the bill.
- Audio cleanup: Use built-in noise reduction or a simple EQ. Subtle is better than underwater robot vibes.
Editing Rules That Make Everything Better
- Cut ruthlessly: Remove the umms, stalls, and repeats.
- Front-load value: Hook in the first 5 seconds. Say the payoff early.
- Use captions: People watch on mute. Captions keep them.
Design and Thumbnails: Clean, Clear, Clickable
Thumbnails and covers don’t need to be Picassos. They need to be legible and curiosity-inducing. Big text, big face, bold contrast.
- Tools: Canva, Figma, or Photopea (free Photoshop-ish). Templates are your friends. Customize them.
- Fonts: Use 1–2 fonts max. Bold headlines. No skinny scripts unless you enjoy unreadable titles.
- Colors: High contrast wins. Dark subject on light background (or vice versa).
Thumbnail Formula That Works
- One main subject (you or the product).
- 3–5 words max for text. Think “$50 MIC TEST” or “STOP Doing This.”
- Facial expression + gesture pointing to the hook if you’re on camera. Yes, it feels cheesy. Yes, it works.
Planning and Workflow: Your Secret Weapon

Gear doesn’t fix chaos. A simple workflow does. Build a repeatable system and you’ll create more with less stress.
- Ideas: Keep a running list in Notes, Notion, or Google Keep. One idea per line.
- Scripts: Use a loose outline: Hook → Promise → 3 Points → CTA. Don’t over-script unless you freeze.
- Batches: Film 2–4 videos in one session. Change shirts. Instant content bank.
- Backups: Keep raw files on an external SSD. Cloud-sync your project files if possible.
Simple Shot List Template
- Opening A-roll (your face, 10–15 seconds)
- B-roll: product close-ups, screen recordings, hands doing stuff
- Cutaways: reactions, environment, proof shots
- End screen or CTA clip (subscribe, download, follow, etc.)
Optional Upgrades That Actually Matter (When You’re Ready)
You don’t need these on day one. But when you hit a ceiling, these upgrades give real improvements.
- Tripod: Stable shots, no more leaning your phone on a coffee mug. Get one with a phone mount.
- ND Filter: For outdoor video to keep motion natural at 1/50–1/60 shutter.
- Softbox or bigger LED: Cleaner, softer light for interviews or talking-head content.
- Camera: Only when you’re limited by your phone. Look for good autofocus, clean HDMI, and mic input.
- Teleprompter app: Reads your script while you look at the lens. Game-changer if you ramble.
IMO: Prioritize audio, lighting, and stability before chasing camera specs.
Distribution and Analytics: Publish Smart, Learn Fast
Don’t post and pray. Post and learn. Platforms tell you what’s working—listen to the data, not your feelings.
- Titles: Clear > clever. Promise a result. Deliver fast.
- Descriptions: Front-load key info and links. Add relevant keywords naturally.
- Analytics to watch: Hook retention, average watch time, and click-through rate. Fix the weakest link first.
- Feedback loop: Read comments, note patterns, adjust the next video. Iteration beats guessing.
FAQ
Do I need a “niche” before I start?
No. Start broad within your interests, then pay attention to what resonates. A niche usually appears after 10–20 posts. Make, measure, refine. Overthinking kills momentum.
Is a DSLR or mirrorless camera worth it for beginners?
Only if your phone limits you. Phones handle most content incredibly well. Upgrade when you need better low light, lens options, or more control. Until then, spend on audio and lighting.
What frame rate should I use?
Use 24 or 30 fps for talking-head and general content. Use 60 fps for slow motion or high-action shots. Consistency matters more than perfection.
How do I get rid of echo in my room?
Add soft stuff: rugs, curtains, blankets, foam panels (cheap ones help). Record closer to the mic. Face away from hard walls. DIY treatment beats fancy plugins, IMO.
What’s the best length for videos?
As long as it stays interesting. For most platforms, 60–180 seconds wins for discovery. Longer content works when you’ve earned trust. Lead with value either way.
Should I script or wing it?
Use bullet points. Script your hook and CTA, outline the middle. Full scripts can sound stiff; winging it can ramble. Find your balance with reps.
Conclusion
You don’t need a studio. You need clarity, a few solid tools, and reps. Start with your phone, upgrade audio, add simple lighting, and build a clean workflow. Publish, learn, and iterate. The best gear is the gear you use—so hit record and make something today.
EXPLORE MORE ON VIBE FOR CREATORS
Learn how to build sustainable income streams and grow with intention inside DIGITAL BUSINESS & INCOME .
Discover tools, platforms, and workflows that support your creative journey in CREATOR TOOLS & RESOURCES .
Discover how artificial intelligence is transforming the creator economy inside AI FOR CREATORS .
Explore powerful tools that help digital creators write, design, and grow faster in AI TOOLS FOR CREATORS .
Learn how to create virtual influencers, digital avatars, and AI-powered creator brands in AI AVATARS & VIRTUAL CREATORS .
Master Pinterest strategy, content creation, and long-term visibility with insights from PINTEREST & CONTENT STRATEGY .
Learn authentic marketing, branding, and audience connection inside MARKETING & BRAND TRUTHS .
Strengthen your confidence, clarity, and inner alignment through PERSONAL GROWTH & MINDSET .
Explore mindset shifts, creator confidence, and intentional growth in CREATOR MINDSET .
Download helpful resources, guides, and tools designed to support your journey in FREEBIES & PRINTABLES .