Designing content in 2025 feels like juggling ten flaming tabs at once. You want speed, polish, and results—without spending three hours nudging a button two pixels to the left. Good news: Canva quietly shipped a ton of time-saving gems that’ll make you look like a design wizard without breaking a sweat.
Let’s skip the fluff and dig into the smartest hacks you’ll actually use.
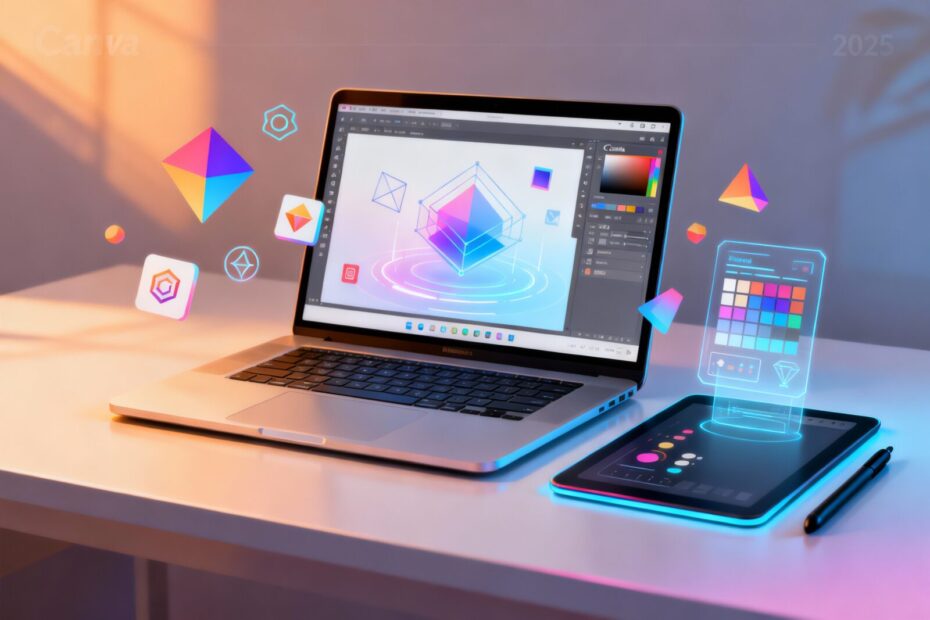
Leverage Magic Design, But Don’t Let It Design You
AI can jumpstart your layout faster than caffeine. Canva’s Magic Design creates a full design suite from a single prompt or brand asset—posts, stories, thumbnails, even docs. It’s like a template on steroids.
How to get great outputs
- Feed it your brand kit first: Colors, fonts, and logos produce much cleaner results.
You’ll spend less time fixing and more time shipping.
- Write specific prompts: “Minimalist YouTube thumbnail, neon accent, bold headline, 3-5 words, dark background” beats “thumbnail for vlog.”
- Swap in your real content ASAP: Replace dummy text and images early. Otherwise you’ll polish the wrong thing.
Pro move: Style Transfer
Use Magic Design to mimic a look you love. Drop in a sample image or PDF, then generate designs that borrow its vibe.
FYI: tweak spacing and contrast so the look reads as yours, not a copy.
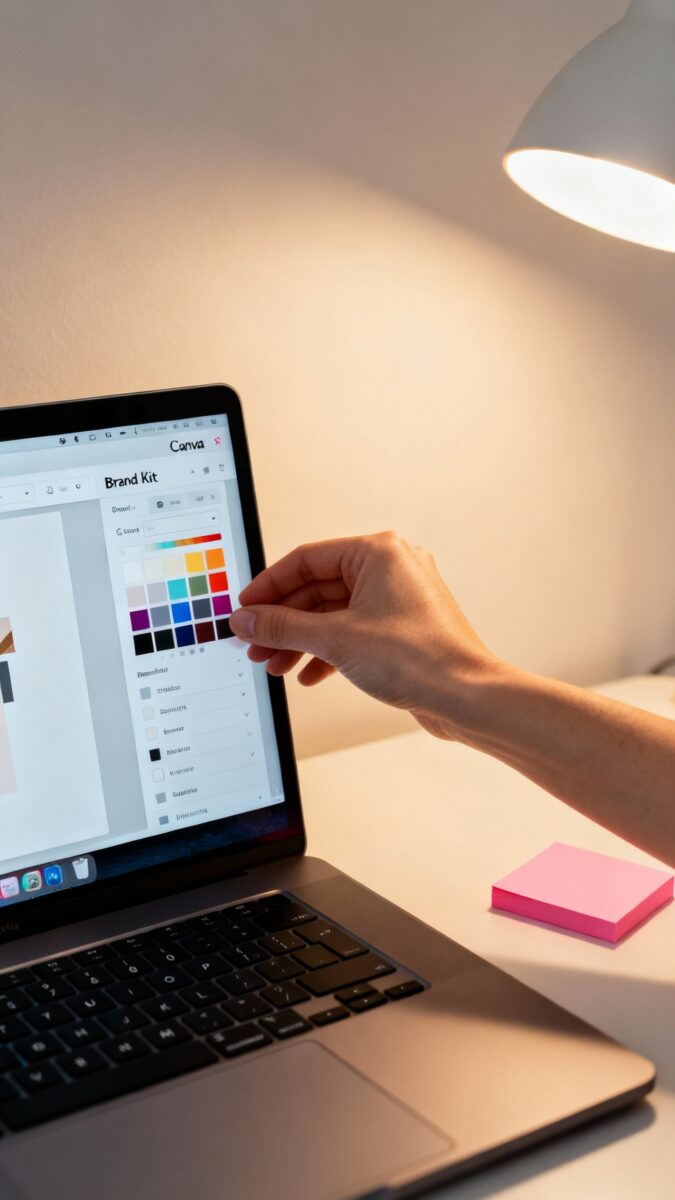
Brand Controls That Actually Keep Everything On-Brand
If your posts look like five different people made them… yikes. Lock it down with Brand Controls so every output feels intentional.
- Brand Kits: Upload logos, define color palettes, set default fonts and styles. Create separate kits for different series or clients.
- Template locking: Lock positions, brand colors, or logo placements so collaborators don’t “creatively” move them into chaos.
- Magic Replace: Update a brand color or font across your entire doc in seconds.
Perfect for rebrands (or when marketing changes their mind… again).
Smart usage
Create a “Creator Kit” for your personal brand and a “Sponsor Kit” for paid collabs. One click switches your entire aesthetic. Clean, consistent, done.
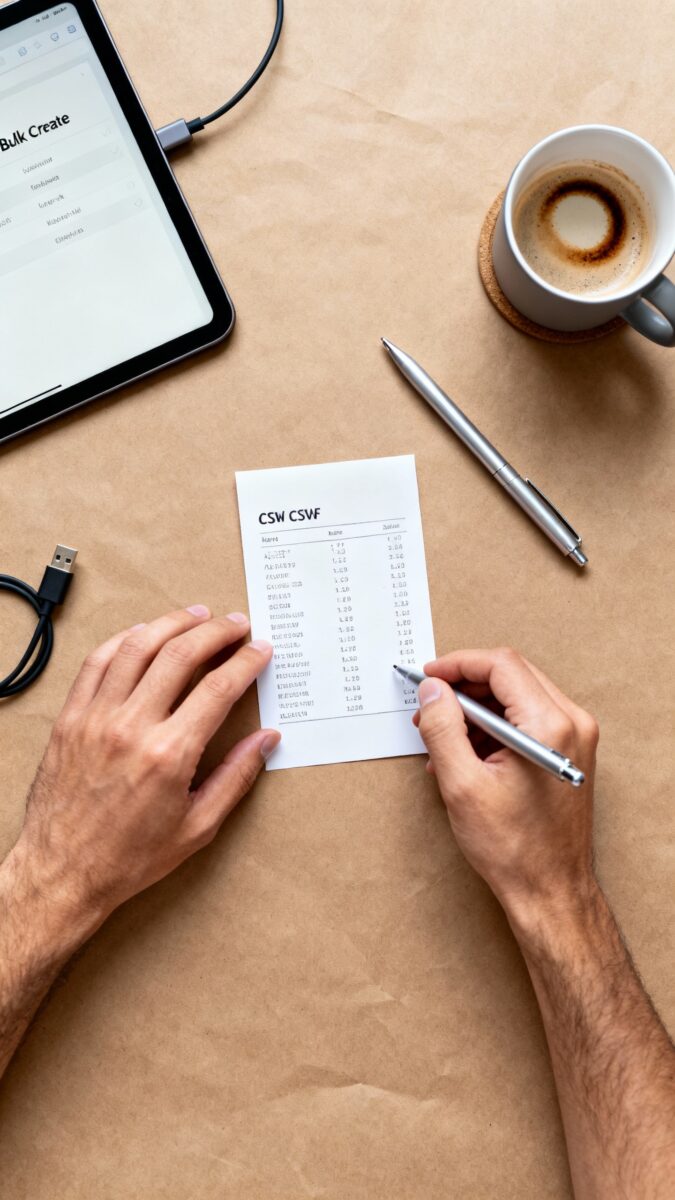
Bulk Create: Turn One Design Into 50 (Without Crying)
Repetitive graphics drain your soul.
Bulk Create makes that pain go away by merging a design with a data source.
- Create a single design with variables like {Title}, {Price}, {URL}, {Image}.
- Go to Apps → Bulk Create → upload a CSV or connect Google Sheets.
- Map variables to your fields. Hit generate. Watch Canva spawn a full set.
Use cases
- Quote posts series with different authors
- Shop listings and promo banners
- YouTube thumbnail variants for A/B testing
Bonus: Combine with Brand Kits so every output stays on-message.
IMO, Bulk Create is the single biggest time saver for multi-post campaigns.
Photo Editing Shortcuts That Don’t Look Cheesy
Yes, you can make images pop without turning them into neon disasters. Use these smarter tweaks.
- Background Remover: Works best with clean contrast. Feather edges slightly to avoid that “sticker” look.
- Magic Grab: Select and move a subject inside a photo without nuking the background.
Think better cropping and layout control.
- Auto Adjust + Shadows/Highlights: Tap Auto first, then nudge shadows and highlights for depth. Subtle wins.
- Duotone and Color Mix: Use brand-color duotones on B-roll images for a cohesive feed theme.
- AI Restyle (Photoshop vibes): Turn a photo into a sketch or 3D toy look. Use sparingly or it screams “AI filter 2023.”
Text + Image polish
Add a low-opacity rectangular gradient behind text on busy images.
It boosts readability without screaming clickbait.

Video: Punchy Edits Without a Degree in Premiere
Short-form video dominates, and Canva’s editor actually holds up for everyday creators.
- Beat Sync: Upload a track, hit Sync, and your cuts snap to the rhythm. Great for reels and hype edits.
- Magic Eraser for video: Remove random background bits from clips. Works best with high-contrast objects.
- Captions in one click: Auto-generate, then style with your brand fonts and colors.
Add a subtle background box for legibility.
- Motion presets: Use “Drift” and “Pop” sparingly. Over-animating looks amateur fast.
Thumbnail workflow
Export your video stills to a page, design three thumbnail variants, and test different headlines (3–5 words). Keep faces big, text bold, background simple.
FYI: high-contrast color blocking wins more clicks.
Templates That Don’t Look Like Templates
You want speed, but not copy-paste vibes. Start with a template, then personalize it strategically.
- Swap layouts, not just colors: Adjust grid, spacing, and hierarchy. Move the headline or shift the focal image.
- Use Frames + Mockups: Drop your product/UI into device frames for instant “polished” energy.
- Smart spacing: Select all → Tidy Up → adjust spacing evenly.
Clean margins make designs look premium.
- Custom styles: Save heading/body presets so you don’t fight fonts every time.
Little details that sell it
Add subtle grain overlays or soft shadows (not harsh drops). Reduce line-height on big headlines. Crop images tighter than you think.
Canva Apps: Hidden Power-Ups You’ll Actually Use
The Apps panel is a treasure chest—just avoid the gimmicks.
These earn their keep.
- Bulk Create (yep, again): For mass content. It’s that good.
- Typecraft: Create custom, 3D-ish text styles for headers without exporting to other tools.
- Brandfetch: Pull client logos in the correct colors instantly. No more pixelated Google Image chaos.
- Mockup Studio: Create consistent product shots with realistic lighting.
- Translate: Auto-translate designs for multi-language campaigns.
Always have a native speaker proofread tone.
Integrations that speed delivery
Connect your content calendar and social accounts. Schedule posts directly from Canva, then recycle designs into Pinterest, LinkedIn, and shorts with size-adjust and minor tweaks. Repurpose like a pro.
Shortcuts, Rules, and Tiny Habits
Small tweaks = huge time savings.
- R for Rectangle, C for Circle, T for Text: Speed keys you’ll use constantly.
- CTRL/CMD + D: Duplicate selected object faster than your coffee refills.
- Position → Tidy Up: Align and space groups in one click.
- Use Grids and Guides: Turn on rulers and set consistent margins.
Consistency screams “I know what I’m doing.”
- Save components: Turn repeated elements (e.g., CTAs) into reusable assets in your Brand Kit.
Collaboration Without Chaos
Working with clients or collaborators? Avoid feedback ping-pong.
- Comment pins: Tag sections, not the entire page. Resolve as you go.
- Version history: Name versions like “V2—color tweak” so you can roll back without panic.
- Approval workflows: Lock approved pages; only edit the pending ones.
Saves arguments later.
FAQ
How do I keep Canva designs from looking generic?
Start with a template for speed, then change structure: move text blocks, adjust spacing, and swap image crops. Apply your Brand Kit and use custom textures, subtle gradients, or overlays. Most “template-y” looks come from unchanged layout and default stock—fix those first.
What’s the best way to set up a brand kit?
Include primary and secondary colors, two fonts max (headline + body), logo variations (light/dark), and standard spacing rules.
Save text styles for H1/H2/body. Add reusable components like CTAs, watermarks, and lower-thirds. IMO, the fewer choices you have, the more consistent your output.
Can I use Canva for serious video editing?
For social content, definitely.
You get beat sync, captions, quick cuts, transitions, and simple sound mixing. If you need advanced color grading, multi-cam, or intricate audio routing, export to a dedicated editor—but Canva covers 80% of the creator use cases.
How do I automate content for multiple platforms?
Design at the largest size you need, then use Magic Resize to adapt for each platform. Create a spreadsheet for Bulk Create to swap in headlines, images, and URLs.
Schedule directly from Canva, and keep platform-specific tweaks (like shorter captions or trimmed intros) in separate pages.
What’s the smartest AI feature to learn first?
Magic Design for jumpstarting layouts, hands down. Pair it with Brand Controls and Bulk Create, and you’ll slash production time across the board. After that, learn Beat Sync for video and Background Remover for fast product or portrait cutouts.
How do I manage client feedback inside Canva?
Share view/comment links, request timestamped notes for video, and ask for consolidated comments per round.
Name versions clearly and lock approved elements. You’ll save hours and keep your sanity intact.
Wrapping It Up
Canva evolved from “nice for quick posts” to a legit production hub. When you combine Magic Design, Brand Controls, and Bulk Create, you get speed and consistency—without sacrificing style.
Layer in video tools, smart templates, and a few apps, and you’ll ship more content in less time. Go play with these, customize them to your workflow, and watch your output (and your free time) spike. IMO, that’s the real glow-up for 2025.
EXPLORE MORE ON VIBE FOR CREATORS
Learn how to build sustainable income streams and grow with intention inside DIGITAL BUSINESS & INCOME .
Discover tools, platforms, and workflows that support your creative journey in CREATOR TOOLS & RESOURCES .
Discover how artificial intelligence is transforming the creator economy inside AI FOR CREATORS .
Explore powerful tools that help digital creators write, design, and grow faster in AI TOOLS FOR CREATORS .
Learn how to create virtual influencers, digital avatars, and AI-powered creator brands in AI AVATARS & VIRTUAL CREATORS .
Master Pinterest strategy, content creation, and long-term visibility with insights from PINTEREST & CONTENT STRATEGY .
Learn authentic marketing, branding, and audience connection inside MARKETING & BRAND TRUTHS .
Strengthen your confidence, clarity, and inner alignment through PERSONAL GROWTH & MINDSET .
Explore mindset shifts, creator confidence, and intentional growth in CREATOR MINDSET .
Download helpful resources, guides, and tools designed to support your journey in FREEBIES & PRINTABLES .